Catch-All Email Setup
This guide covers how to set up a catch-all email address for a customer’s domain so we can receive verification emails from Google Ads on their behalf.
Overview
Section titled “Overview”When onboarding a customer’s Google Ads account, Google requires email verification. By configuring the customer’s domain with Cloudflare Email Routing and a catch-all address, we can receive these verification emails at a central inbox.
Video Walkthrough
Section titled “Video Walkthrough”Onboard Domain to Cloudflare
Section titled “Onboard Domain to Cloudflare”First, move the customer’s domain to Cloudflare so we can manage DNS and enable email routing.
-
Log into Cloudflare with the
integration@honeygrid.aiaccount (credentials in LastPass) -
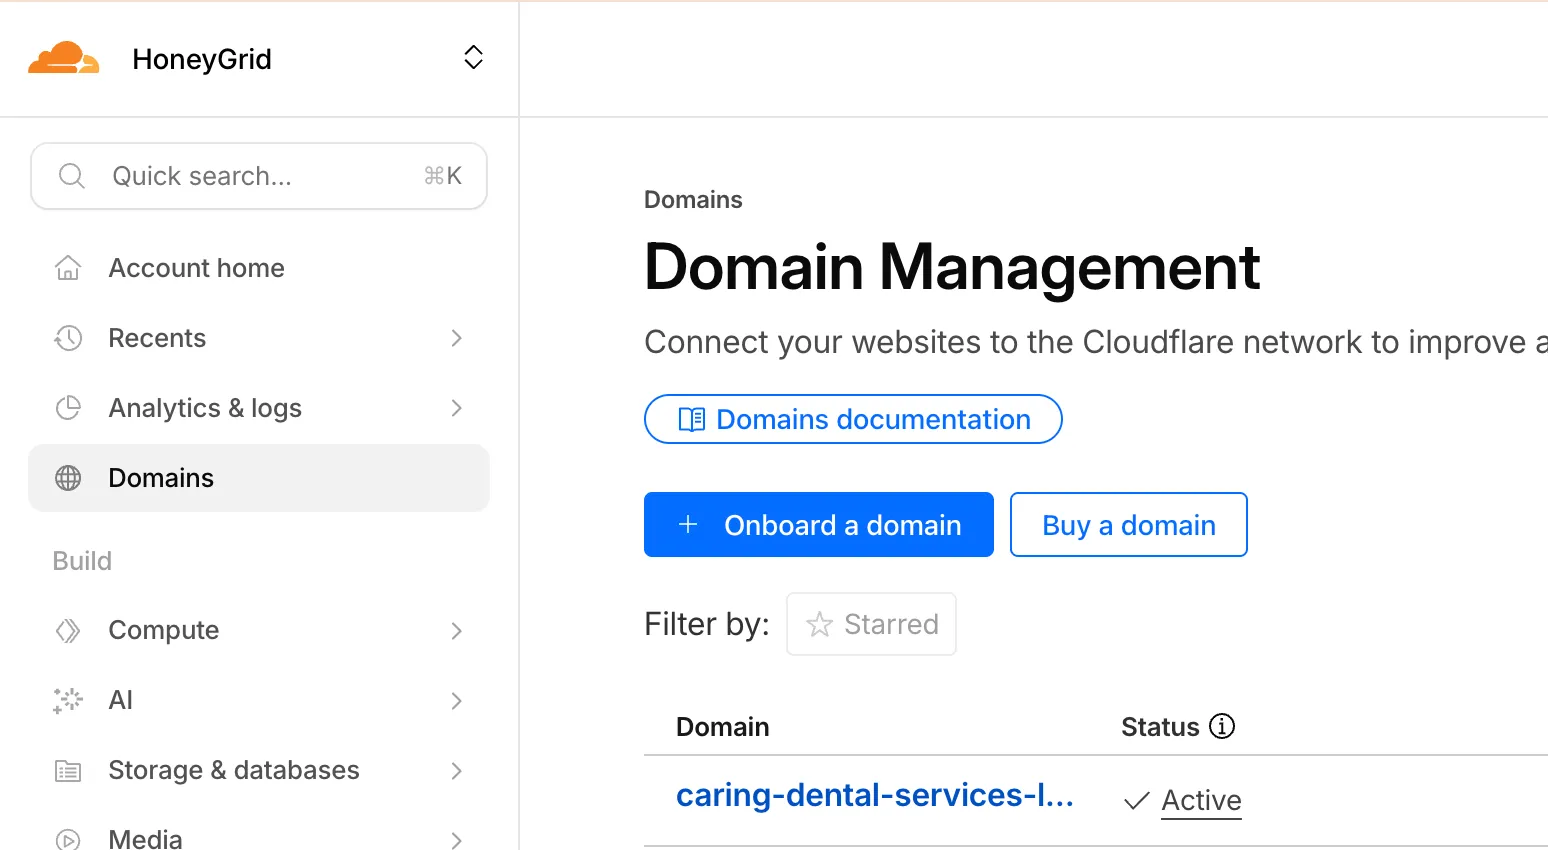
Navigate to Domains and click Onboard a domain
-
Enter the landing page domain with the configuration below and click Continue
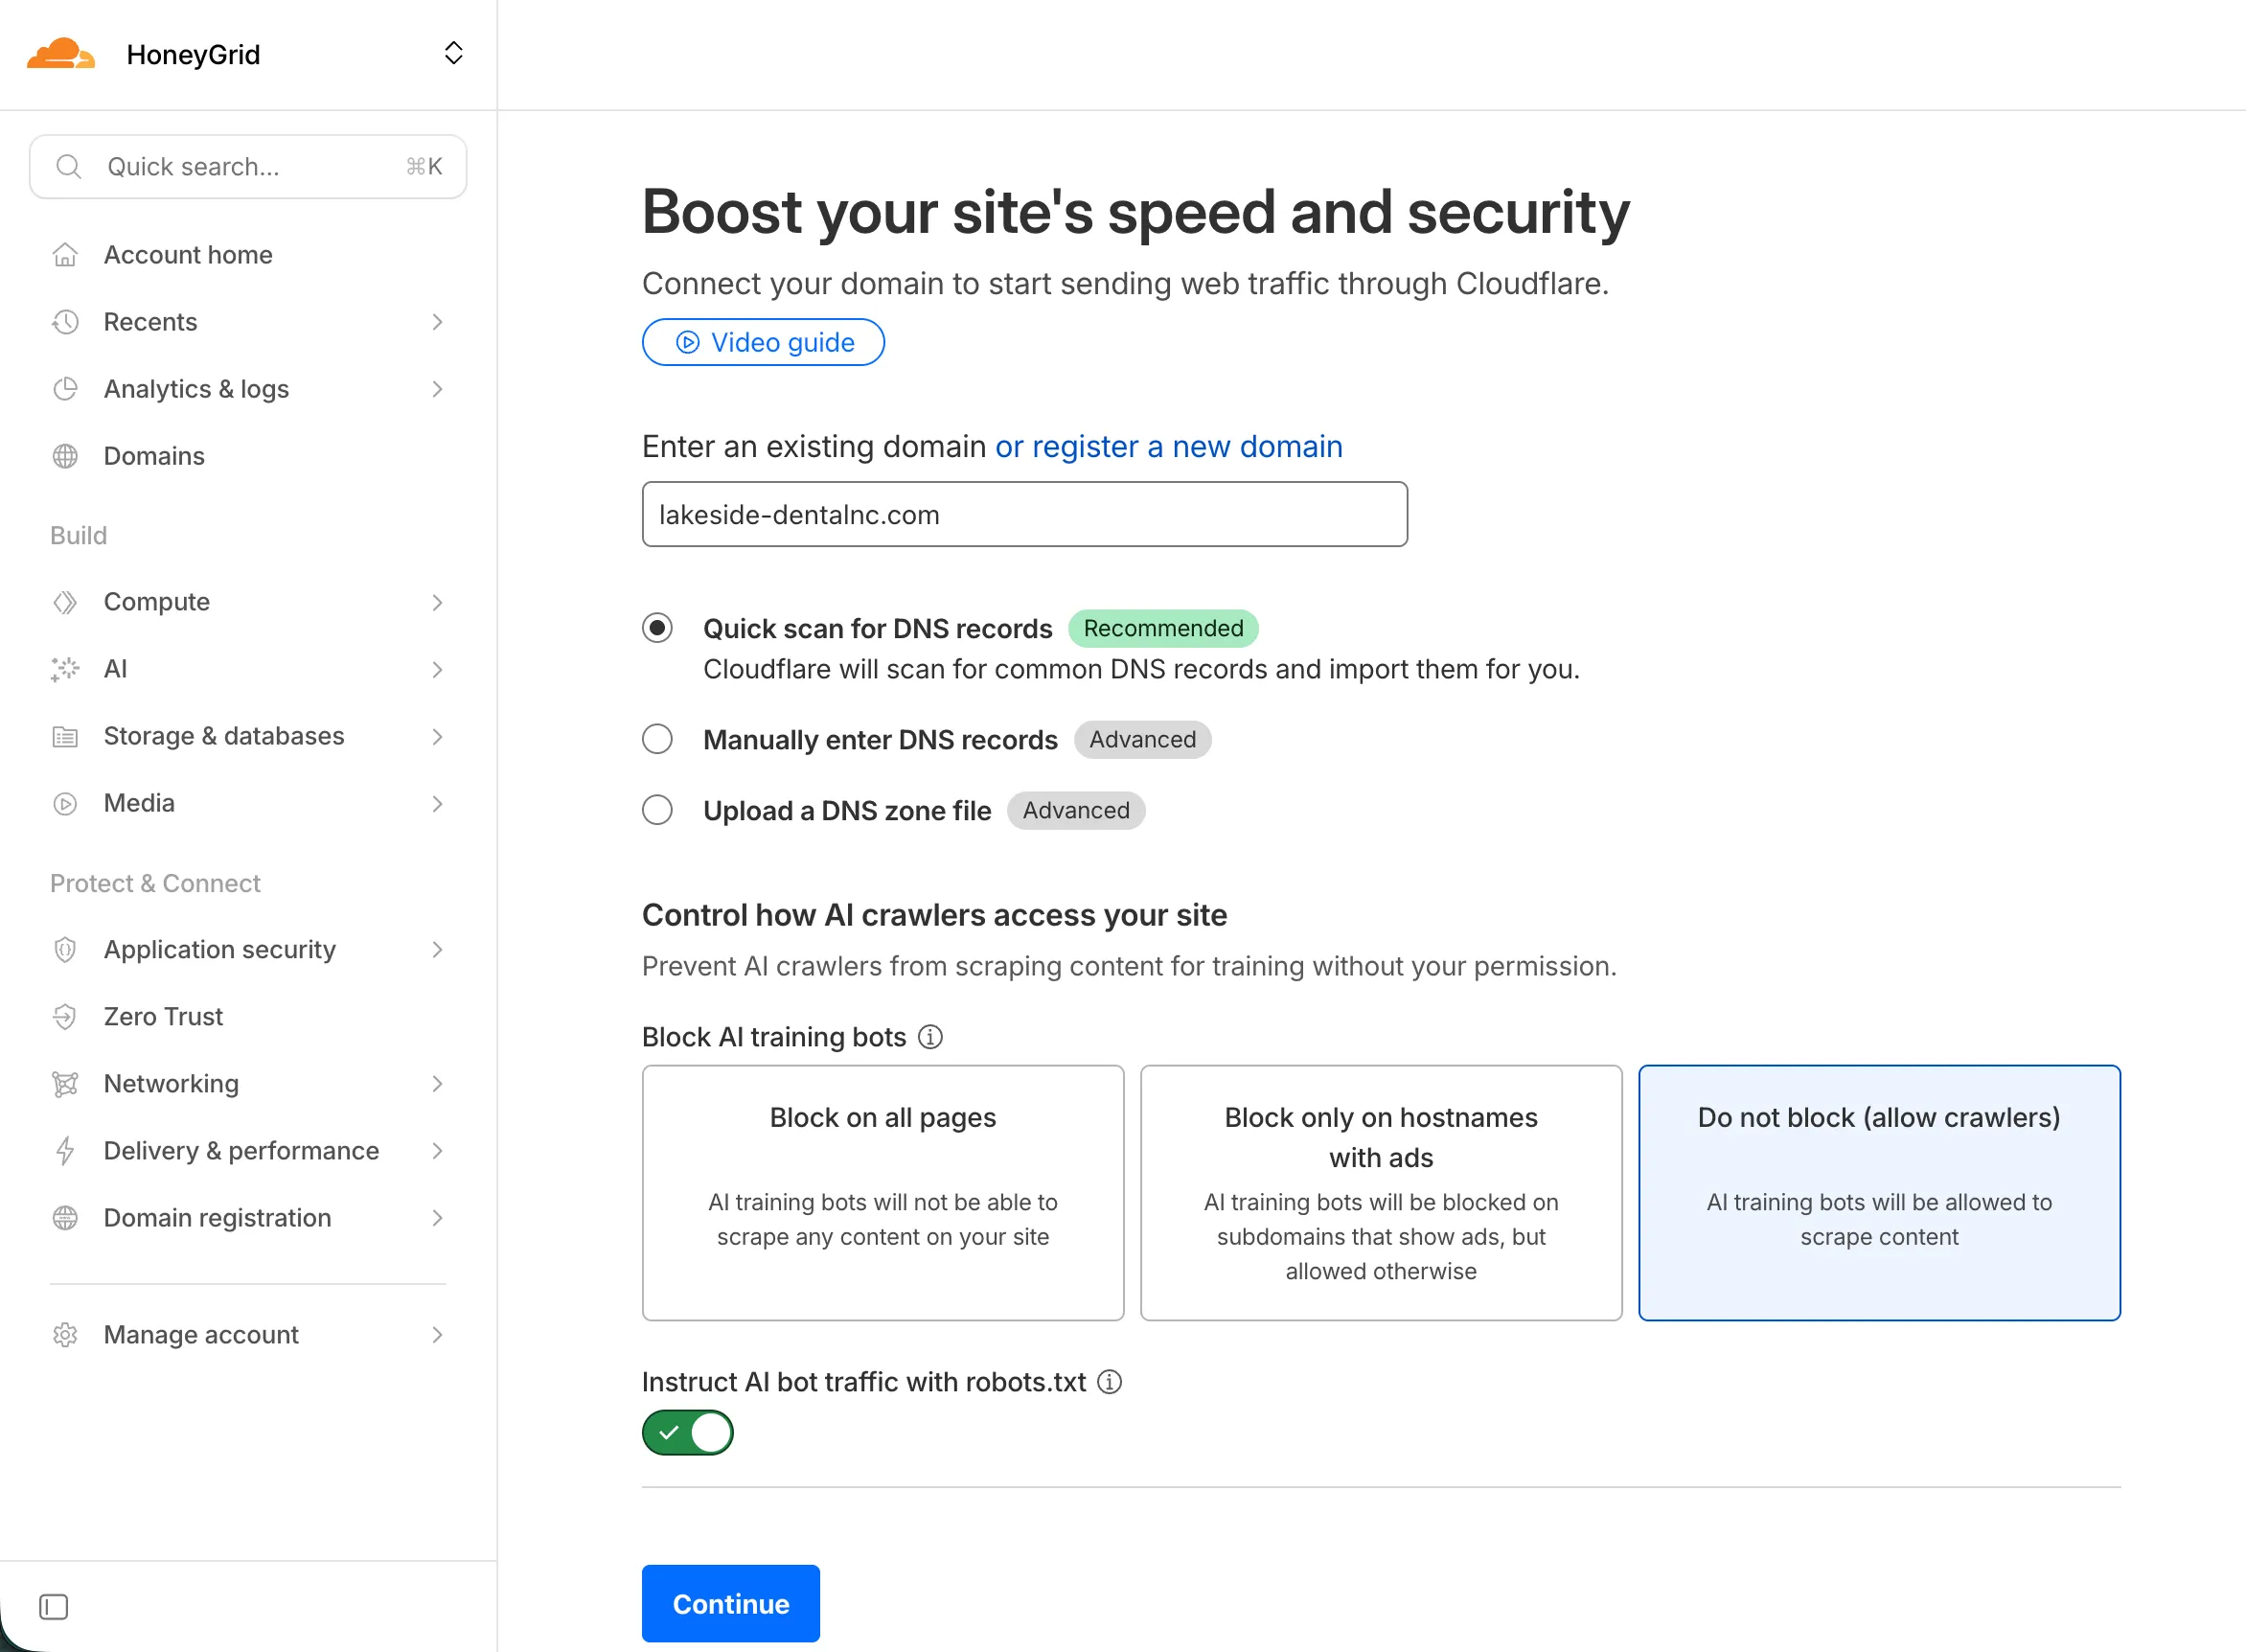
-
Select the Free plan
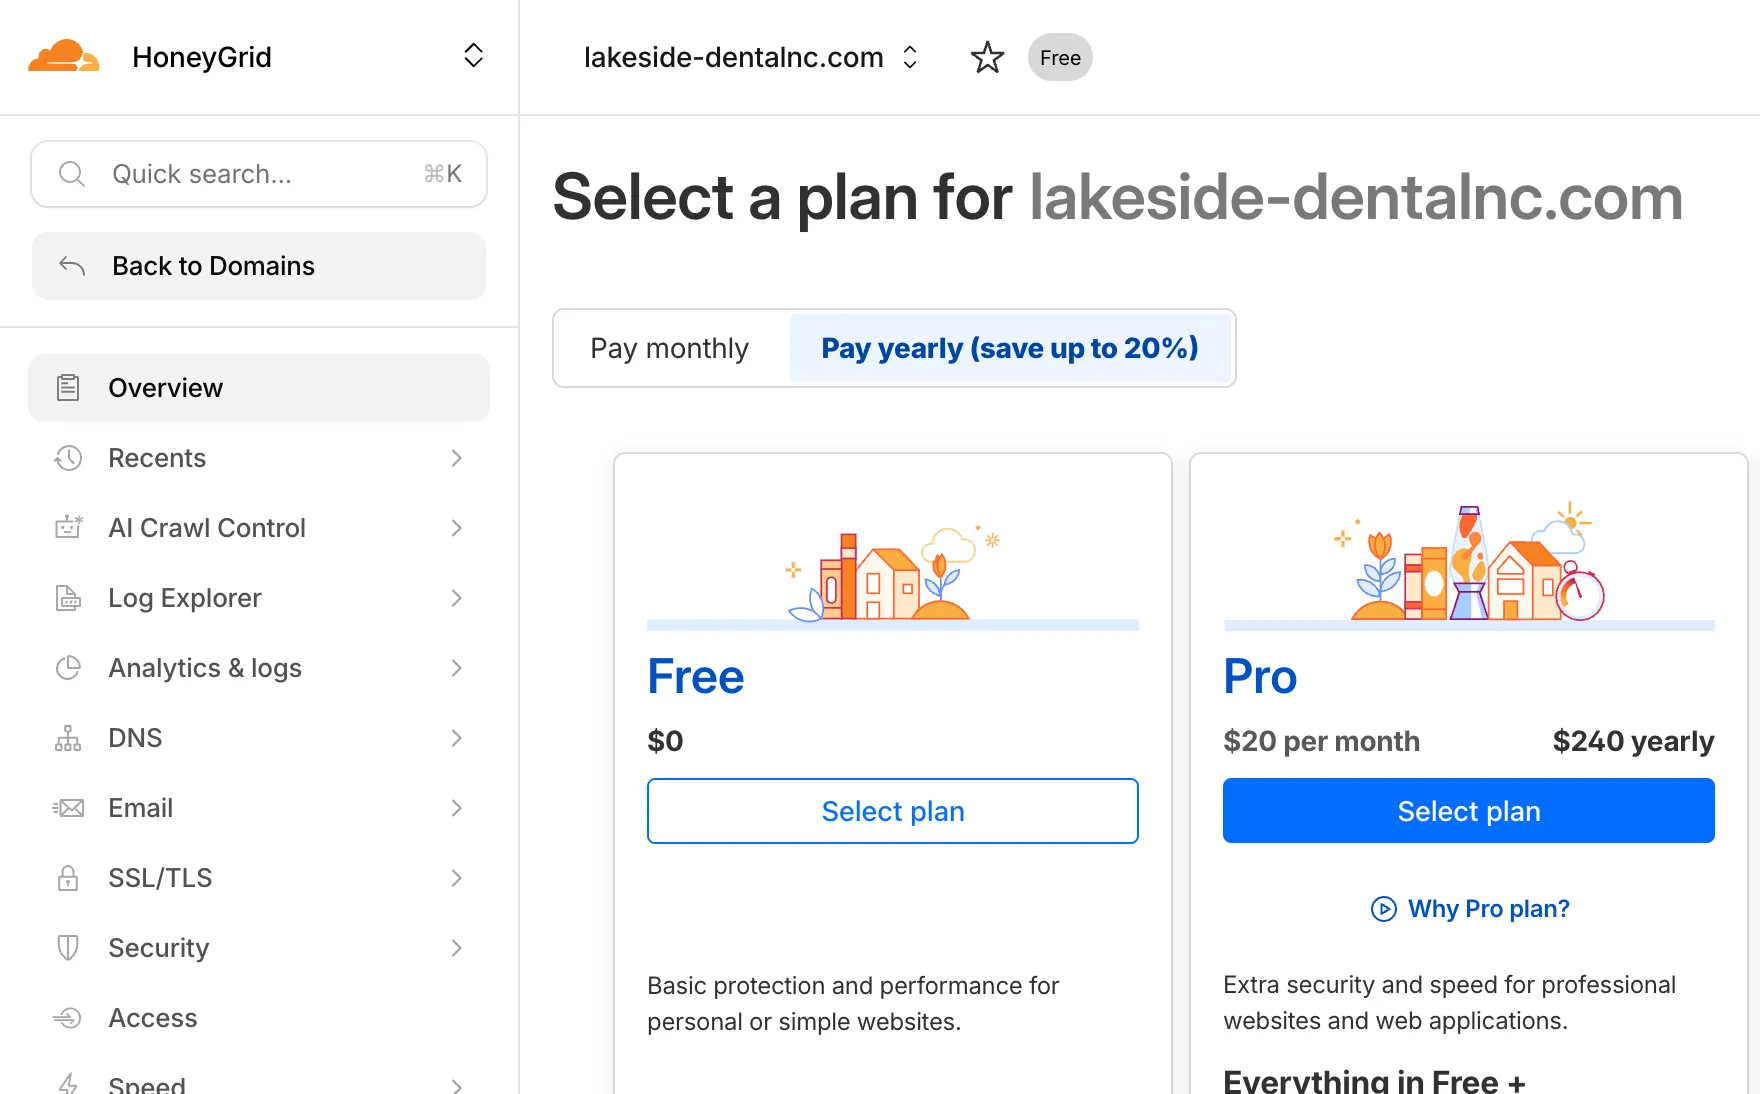
-
Review detected DNS records to ensure the A, CNAME, and TXT records match GoDaddy. Ignore NS and SOA records in GoDaddy—we’ll change those next.
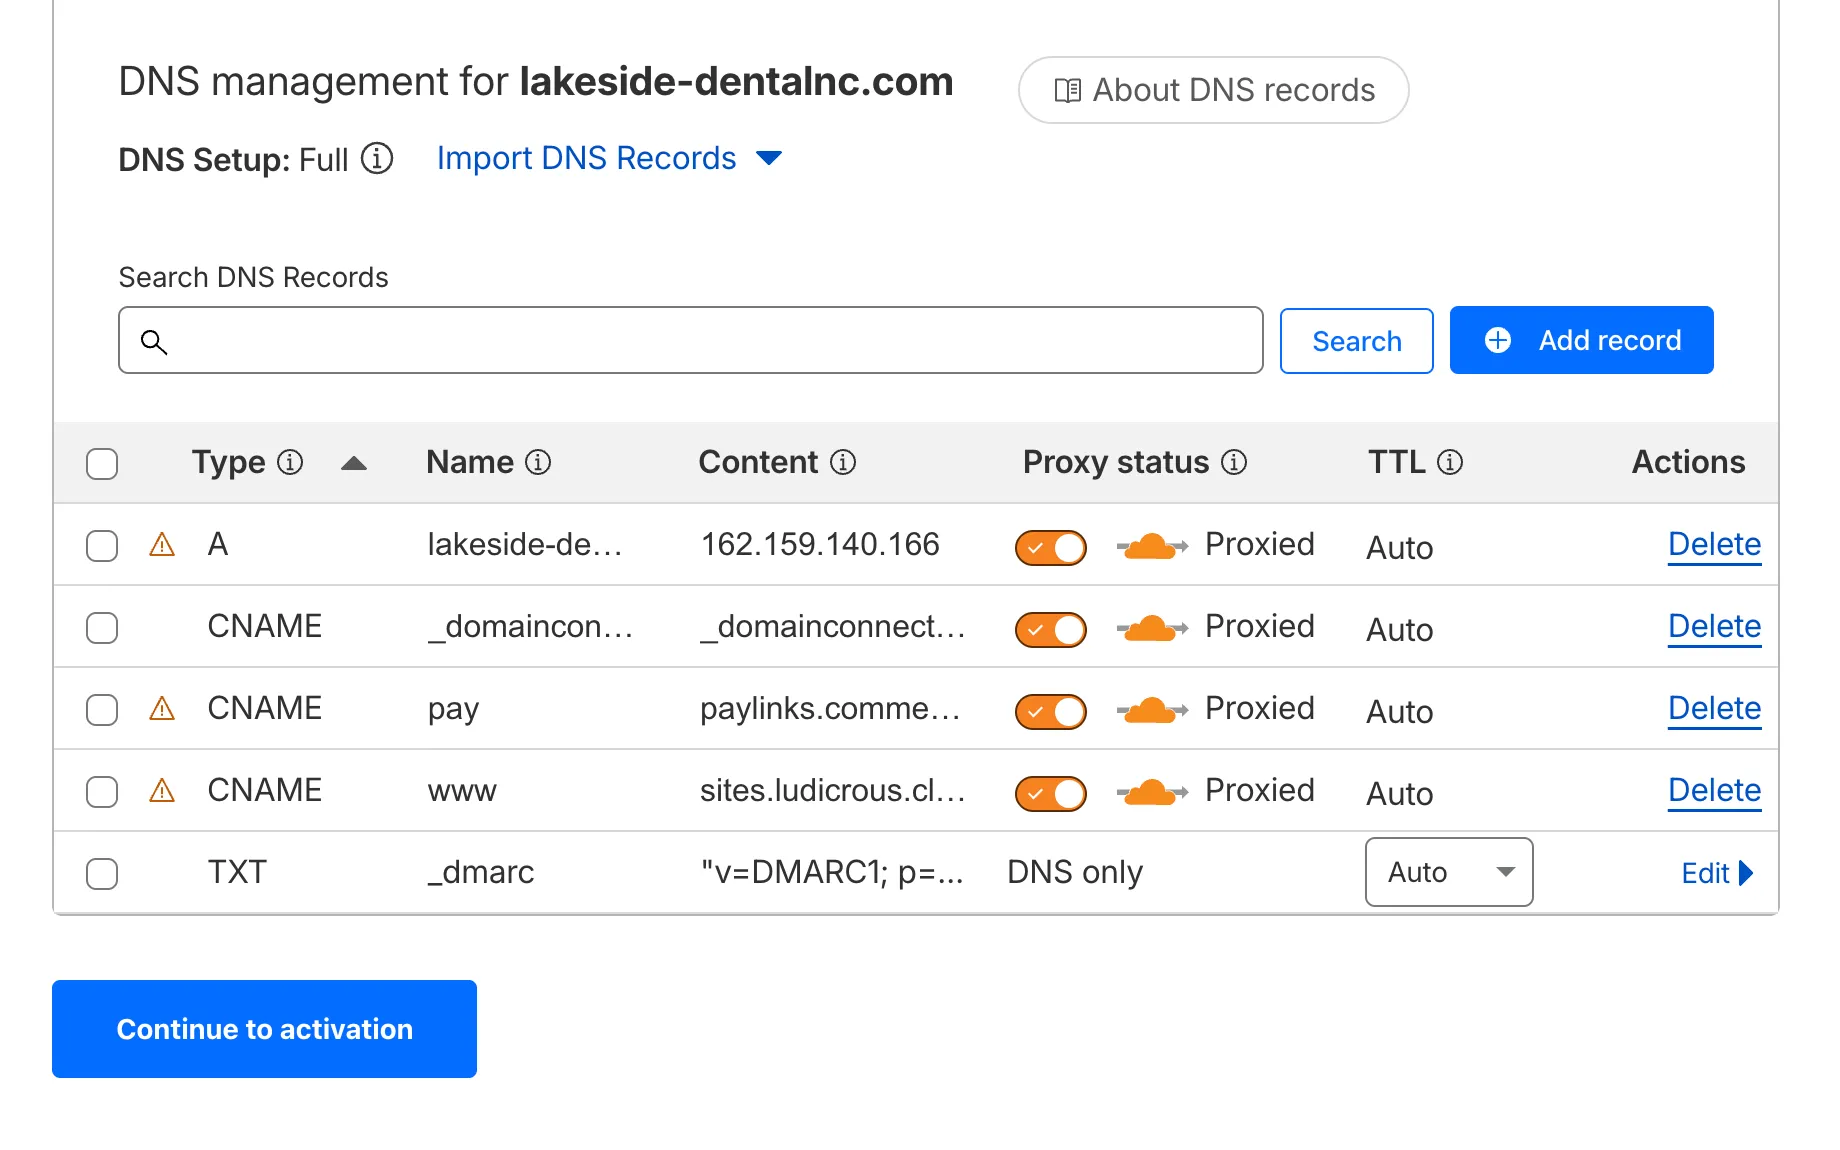

-
Once records match, click Continue to activation
-
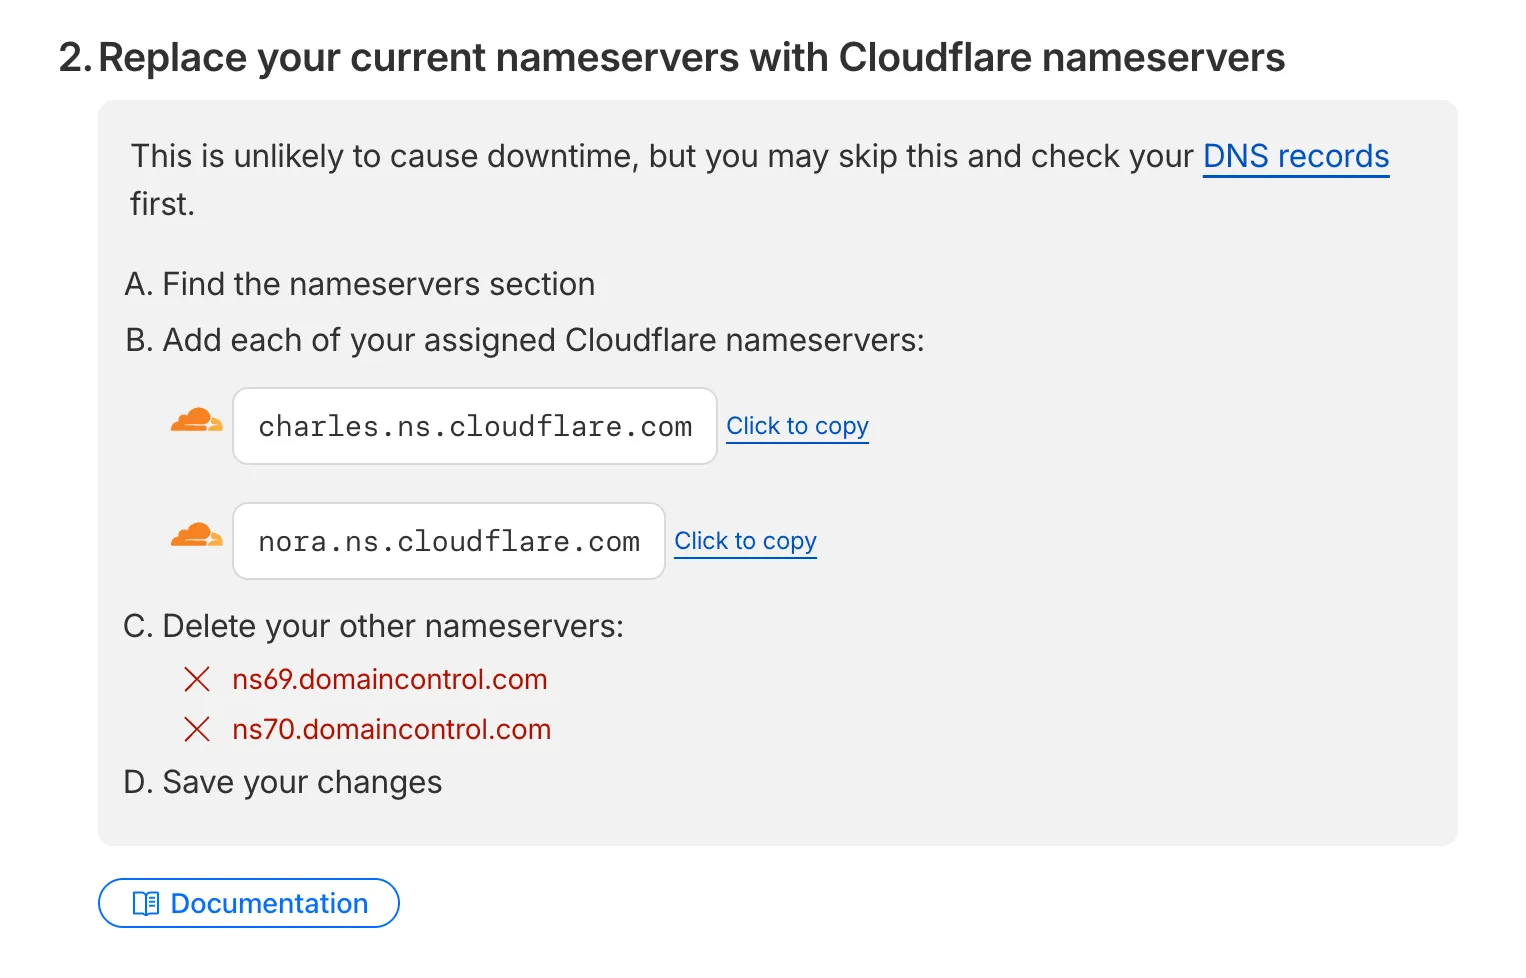
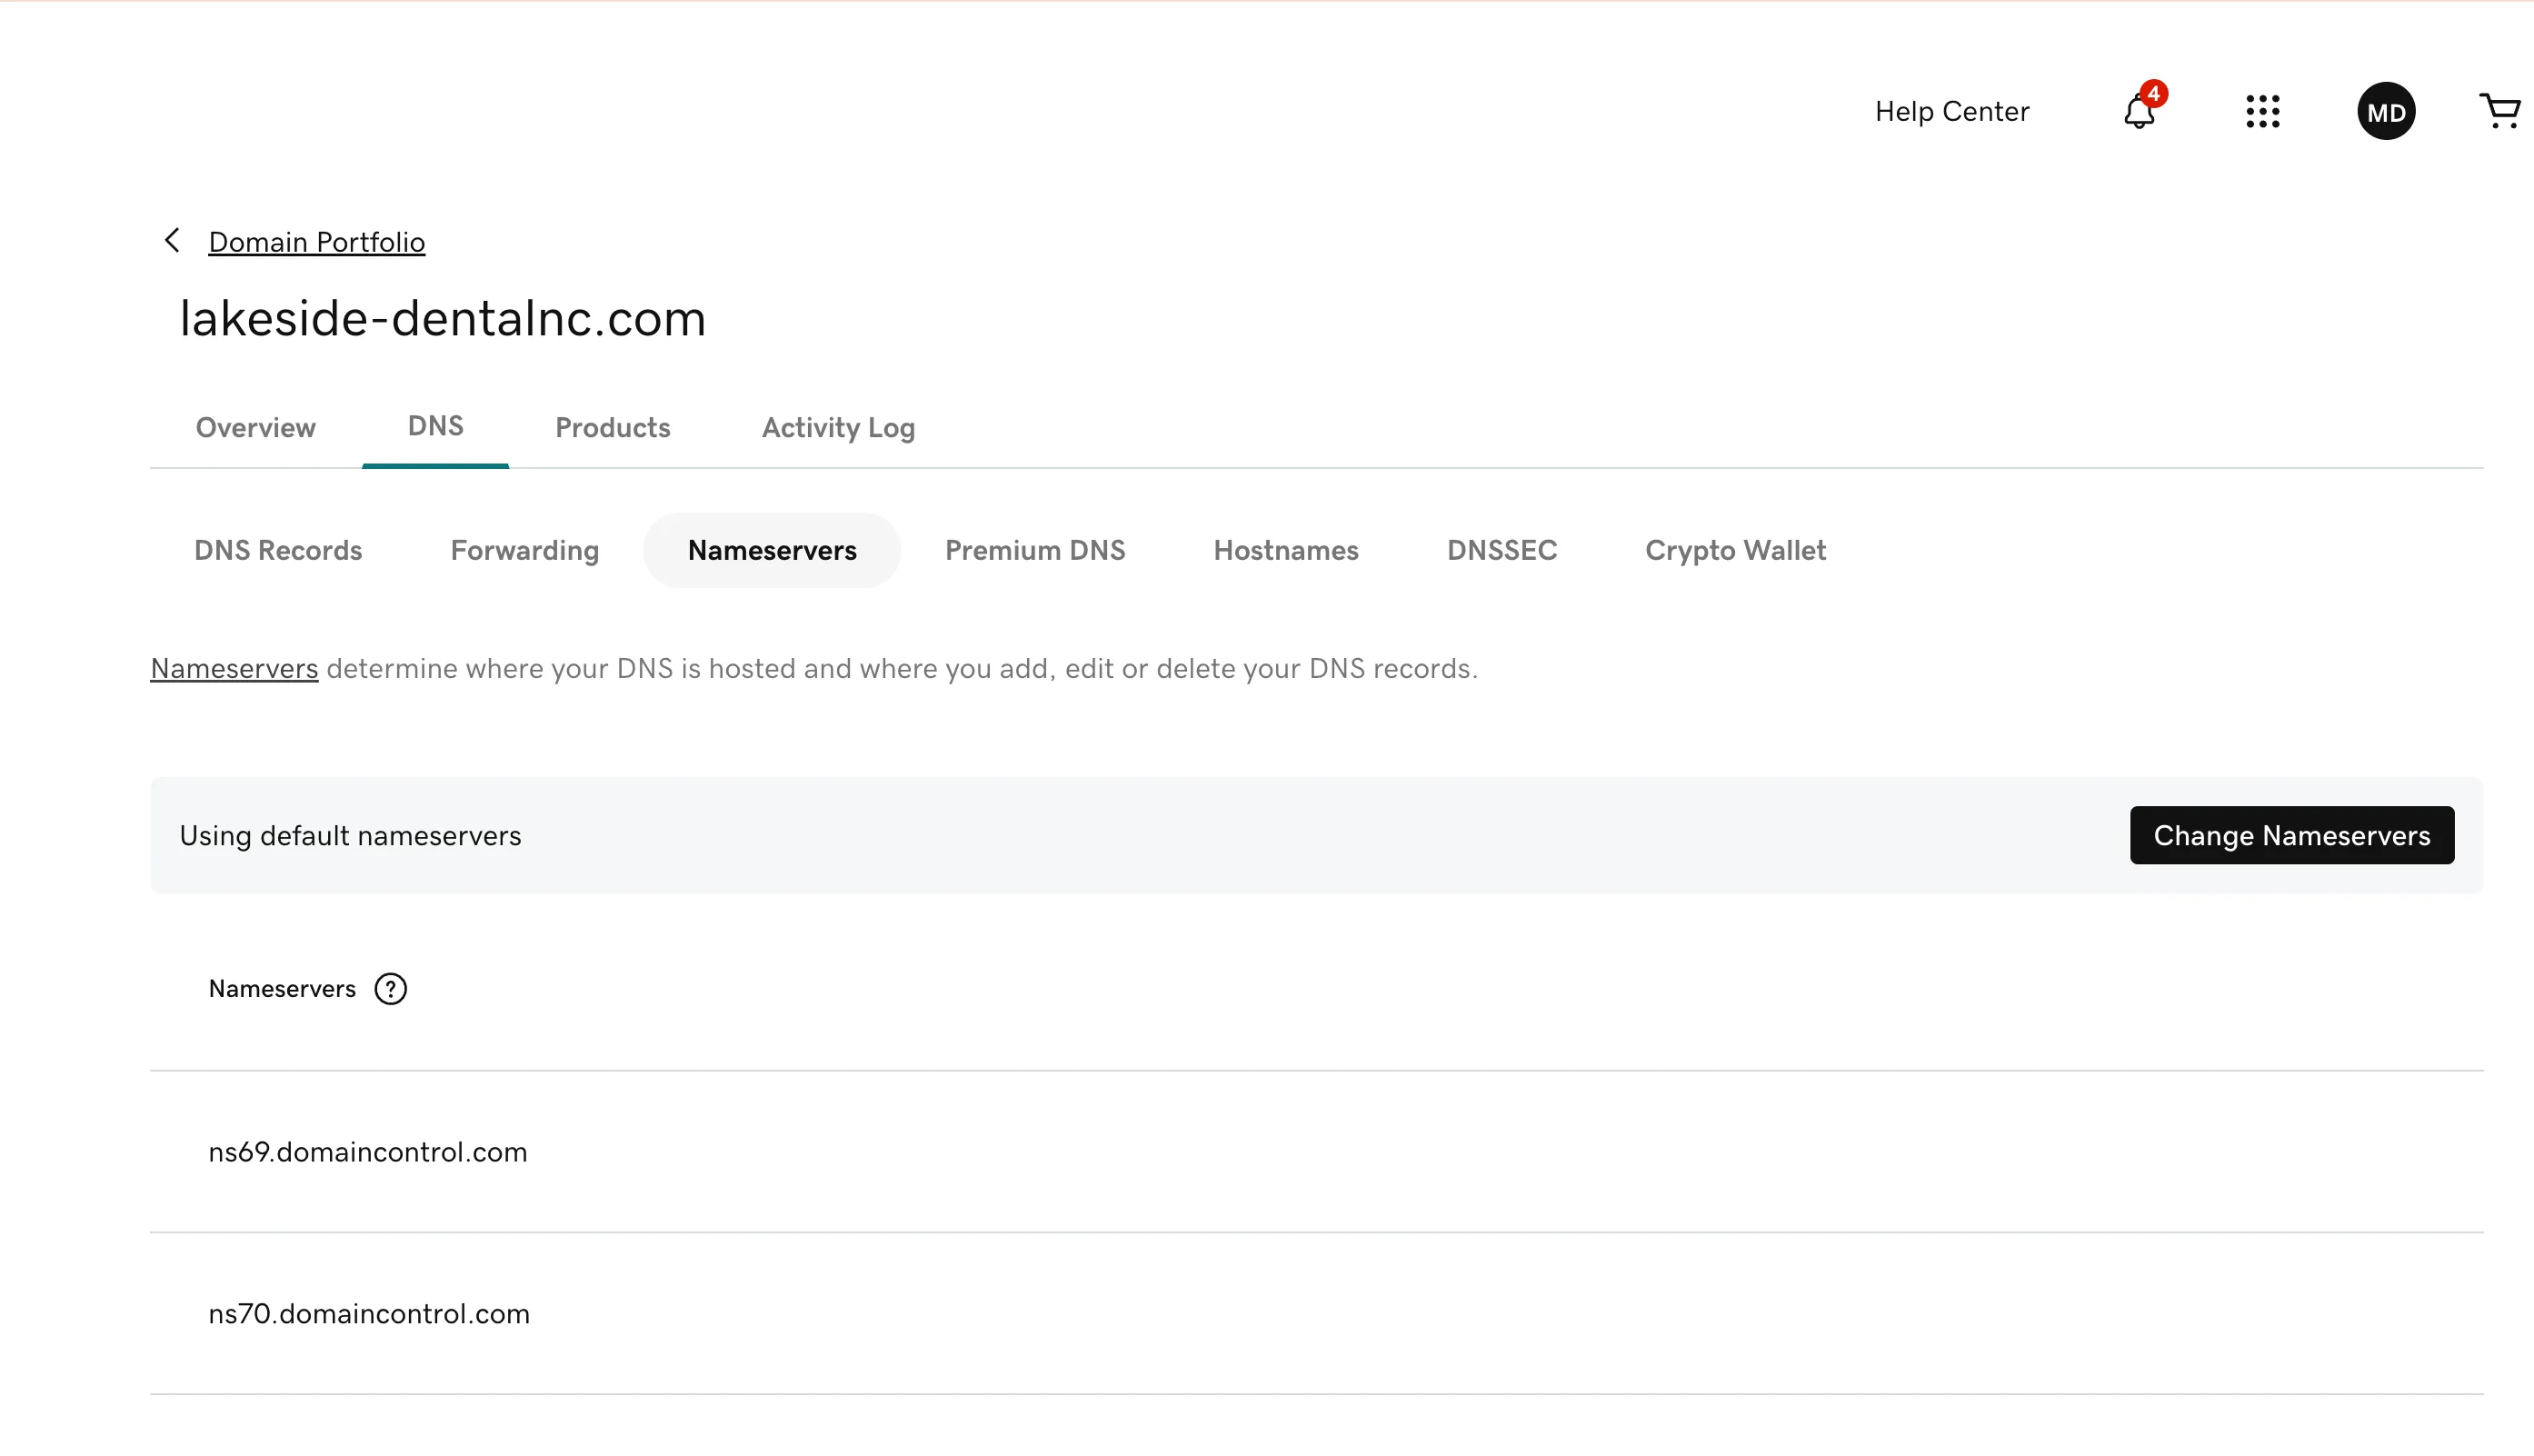
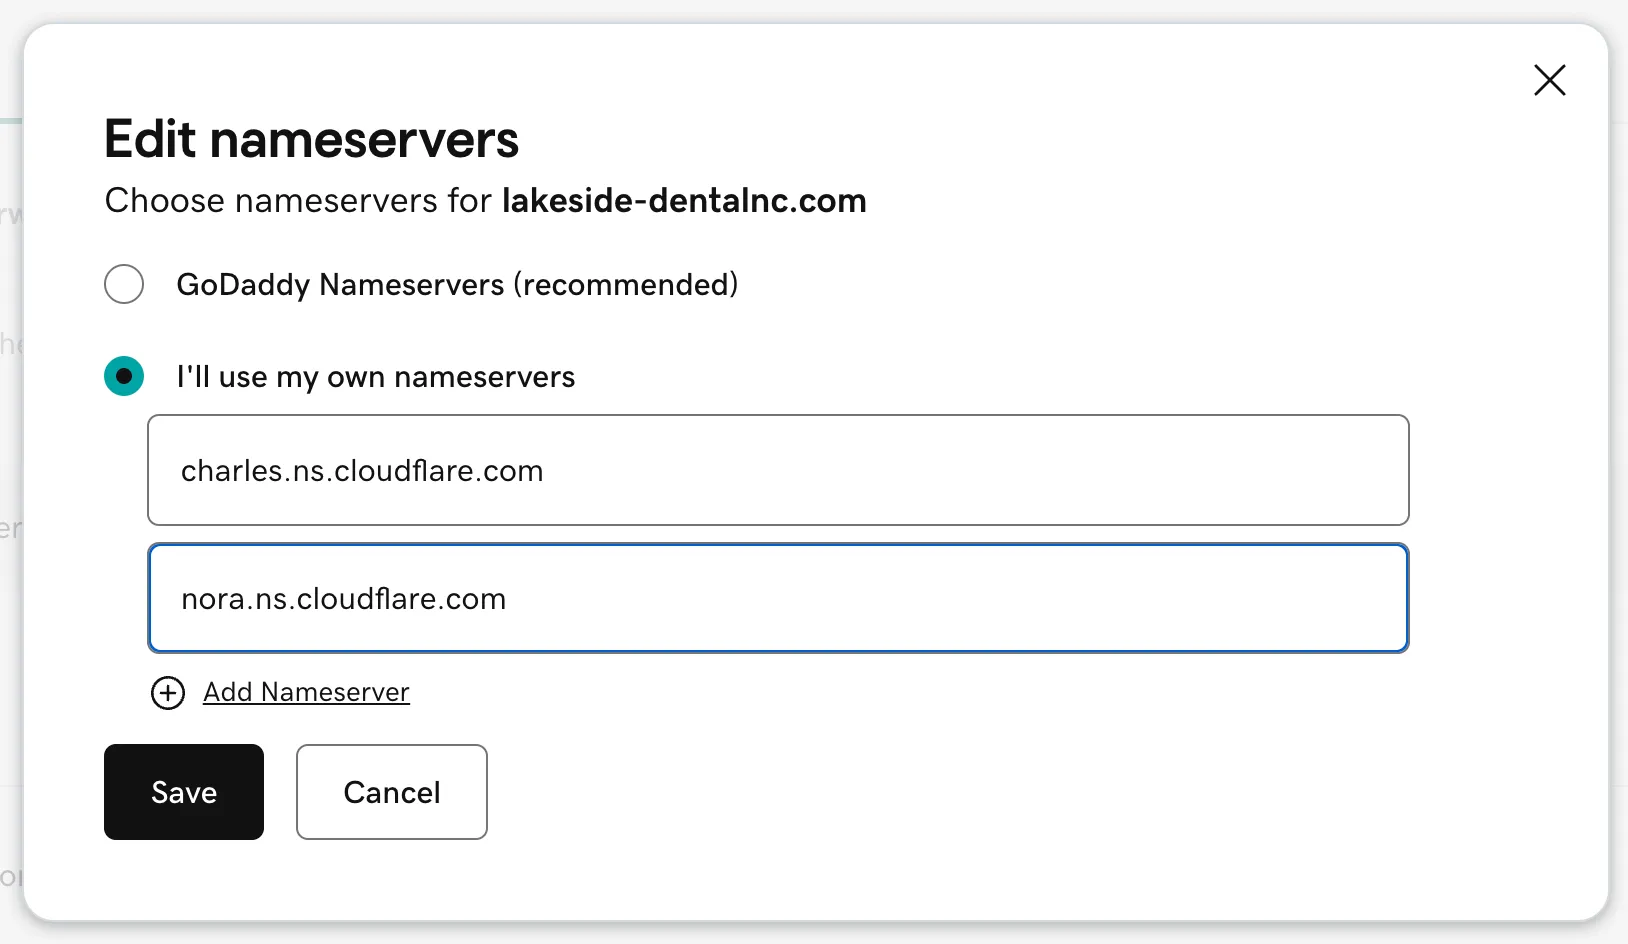
Replace the nameservers in GoDaddy to point at Cloudflare:
charles.ns.cloudflare.comnora.ns.cloudflare.com
-
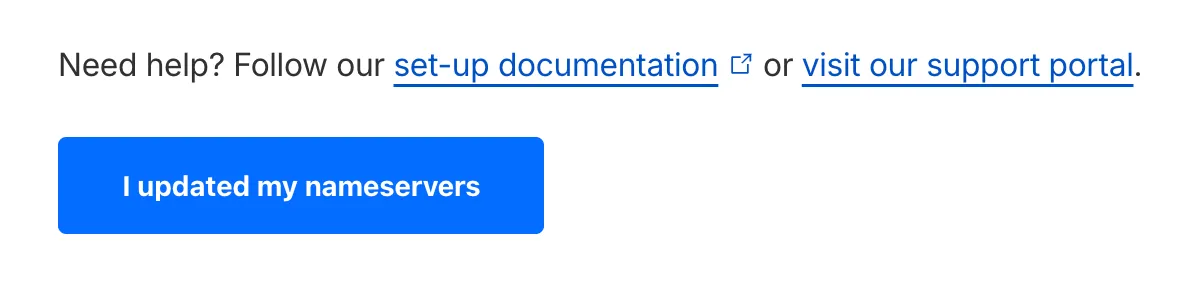
In Cloudflare, click I updated my nameservers
-
Wait for activation (usually 5 minutes, can take up to several hours)
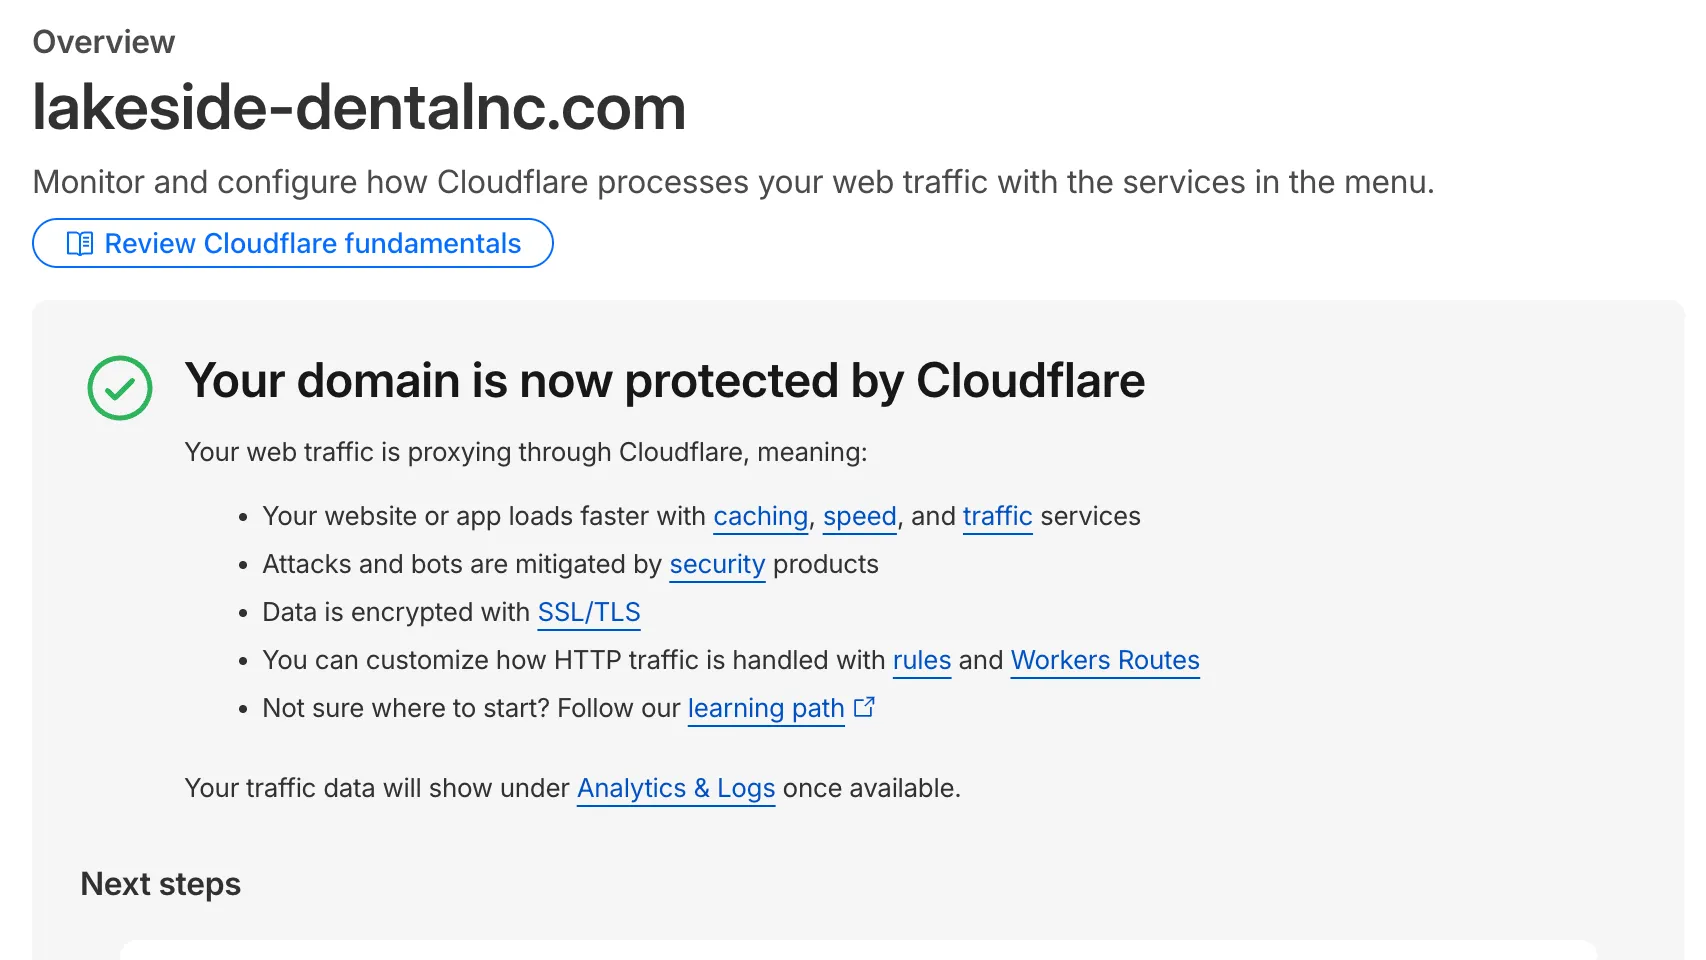
Verify Landing Page
Section titled “Verify Landing Page”After nameserver propagation, confirm everything works:
- Verify the customer’s website loads correctly
- Check HTTPS/SSL certificate by navigating to
https://[domain-name].com - Test any subdomains
- Confirm no broken functionality
Enable Email Routing
Section titled “Enable Email Routing”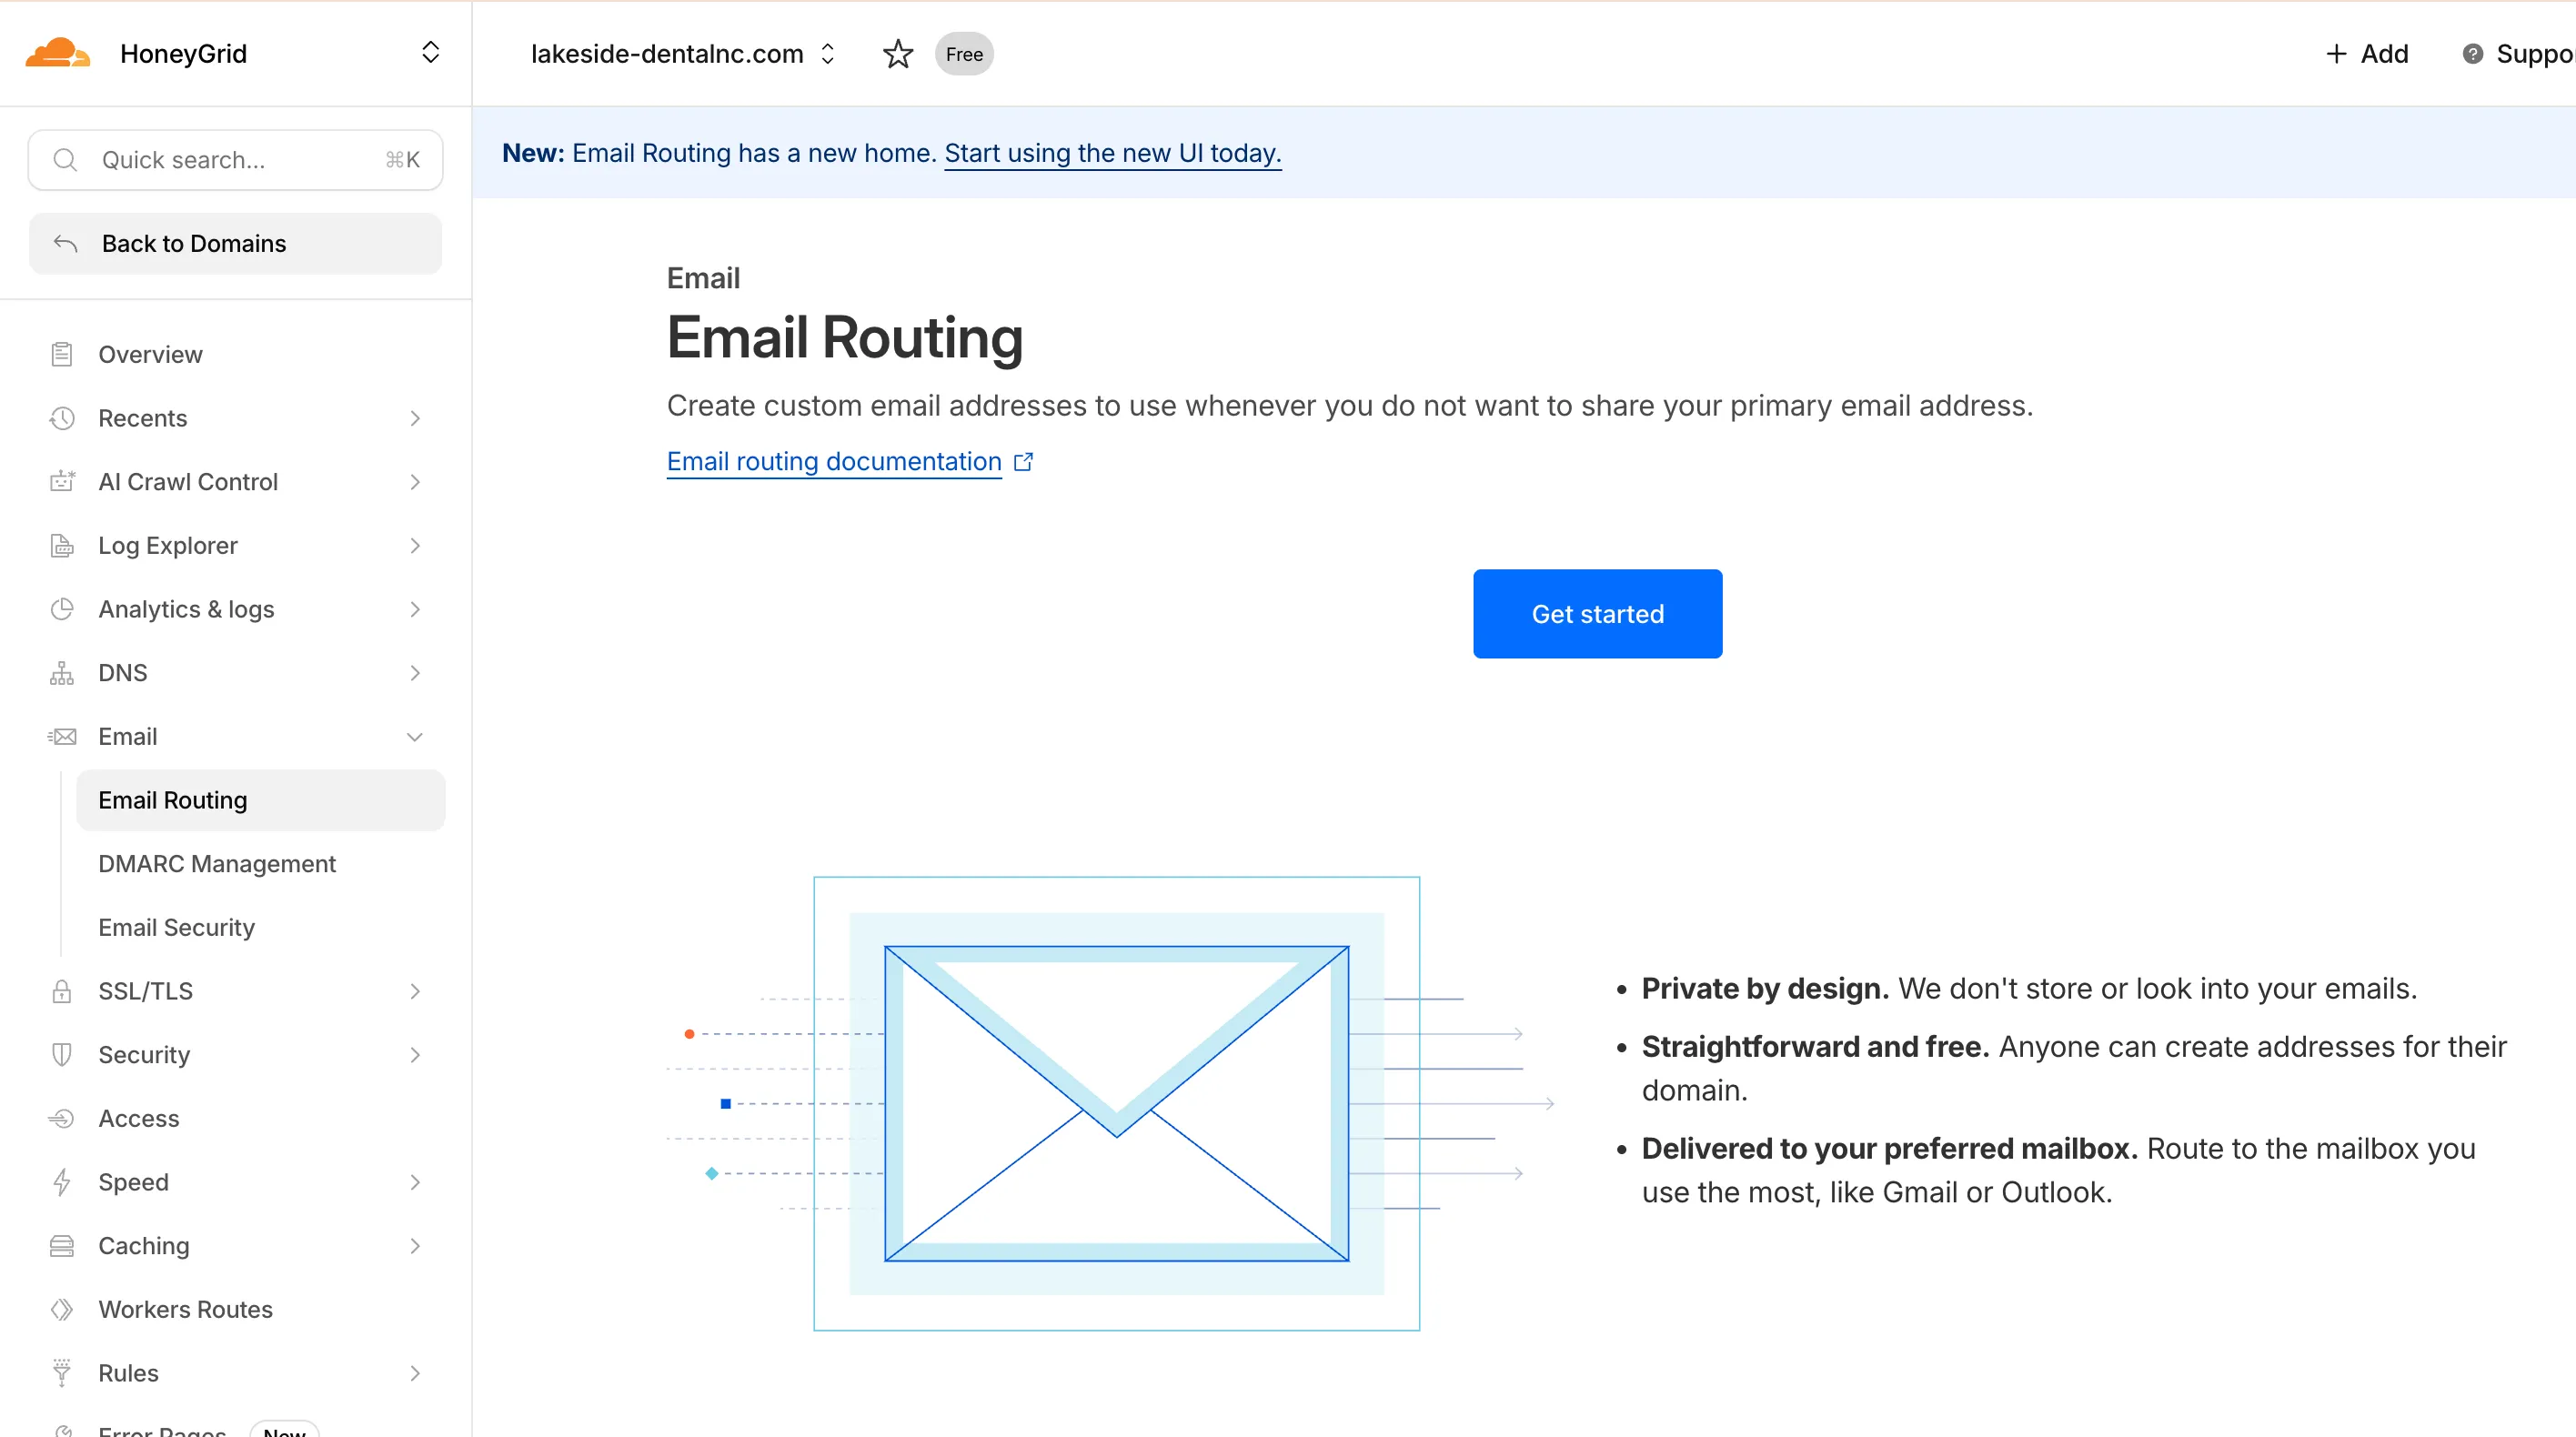
-
In Cloudflare dashboard, go to Email > Email Routing
-
Click Get started
-
Click Skip getting started
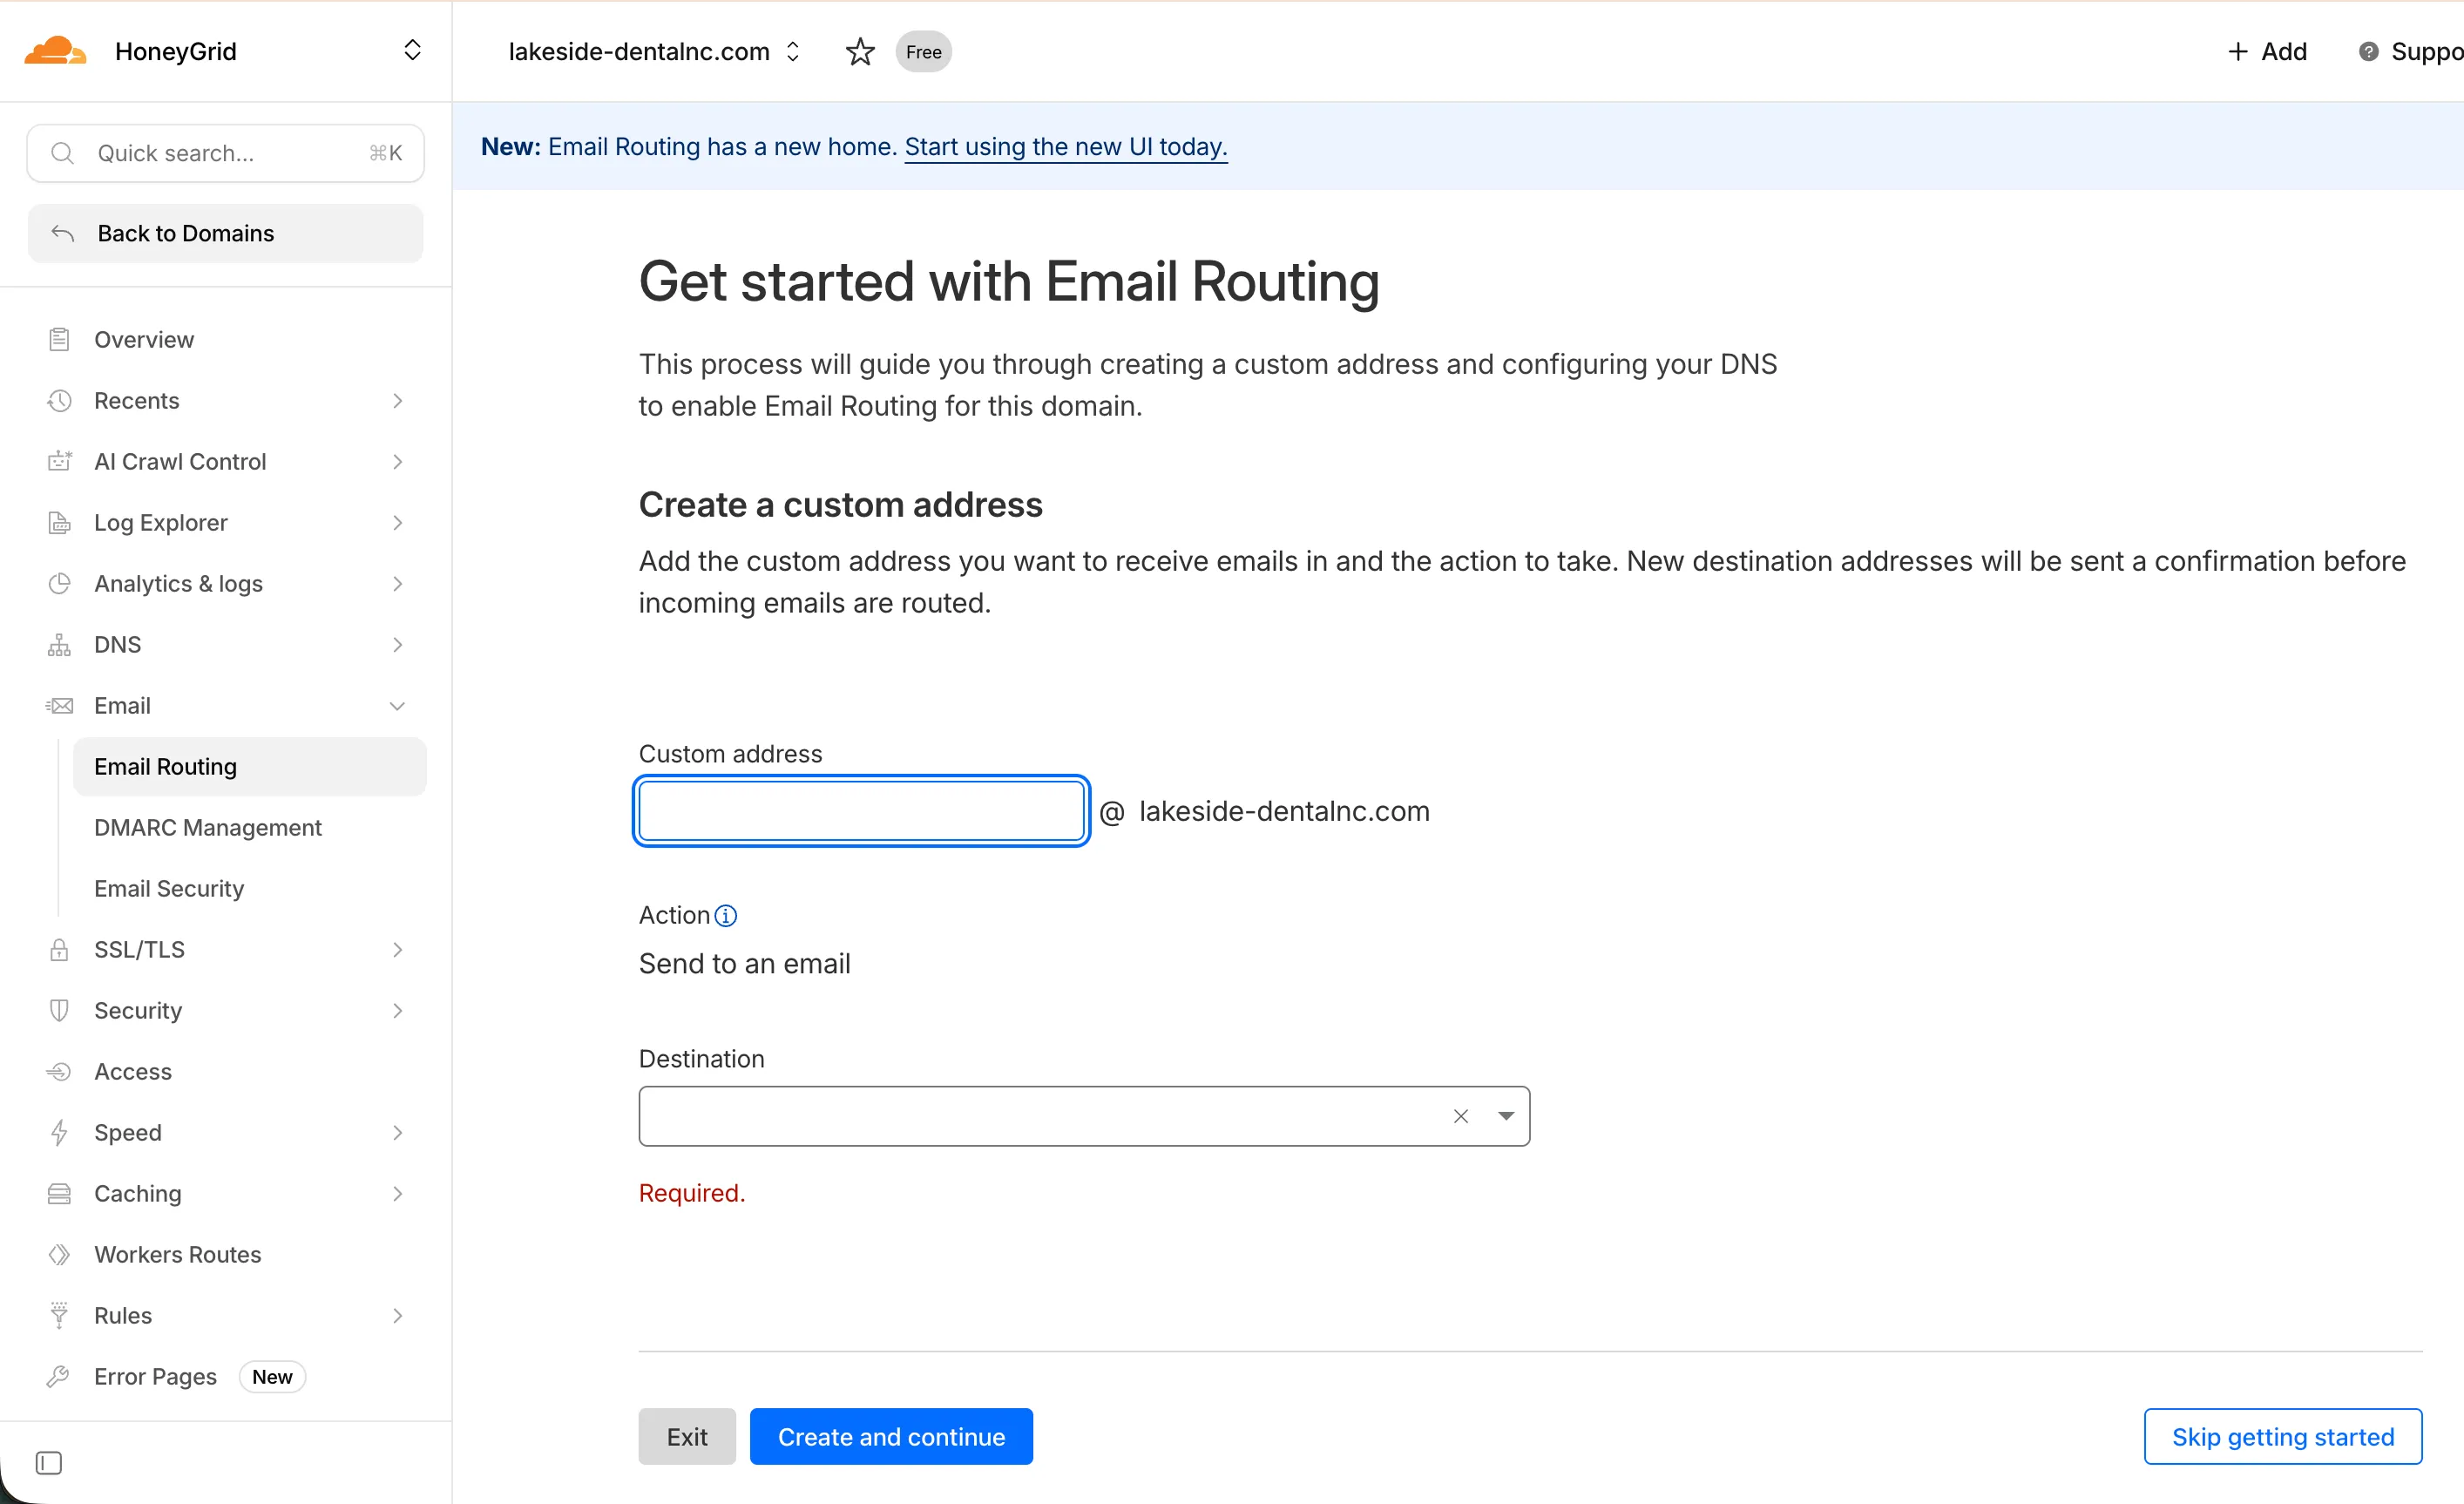
-
Add a catch-all address pointing to
integration@honeygrid.ai. The catch-all means any email address at this domain forwards to our inbox.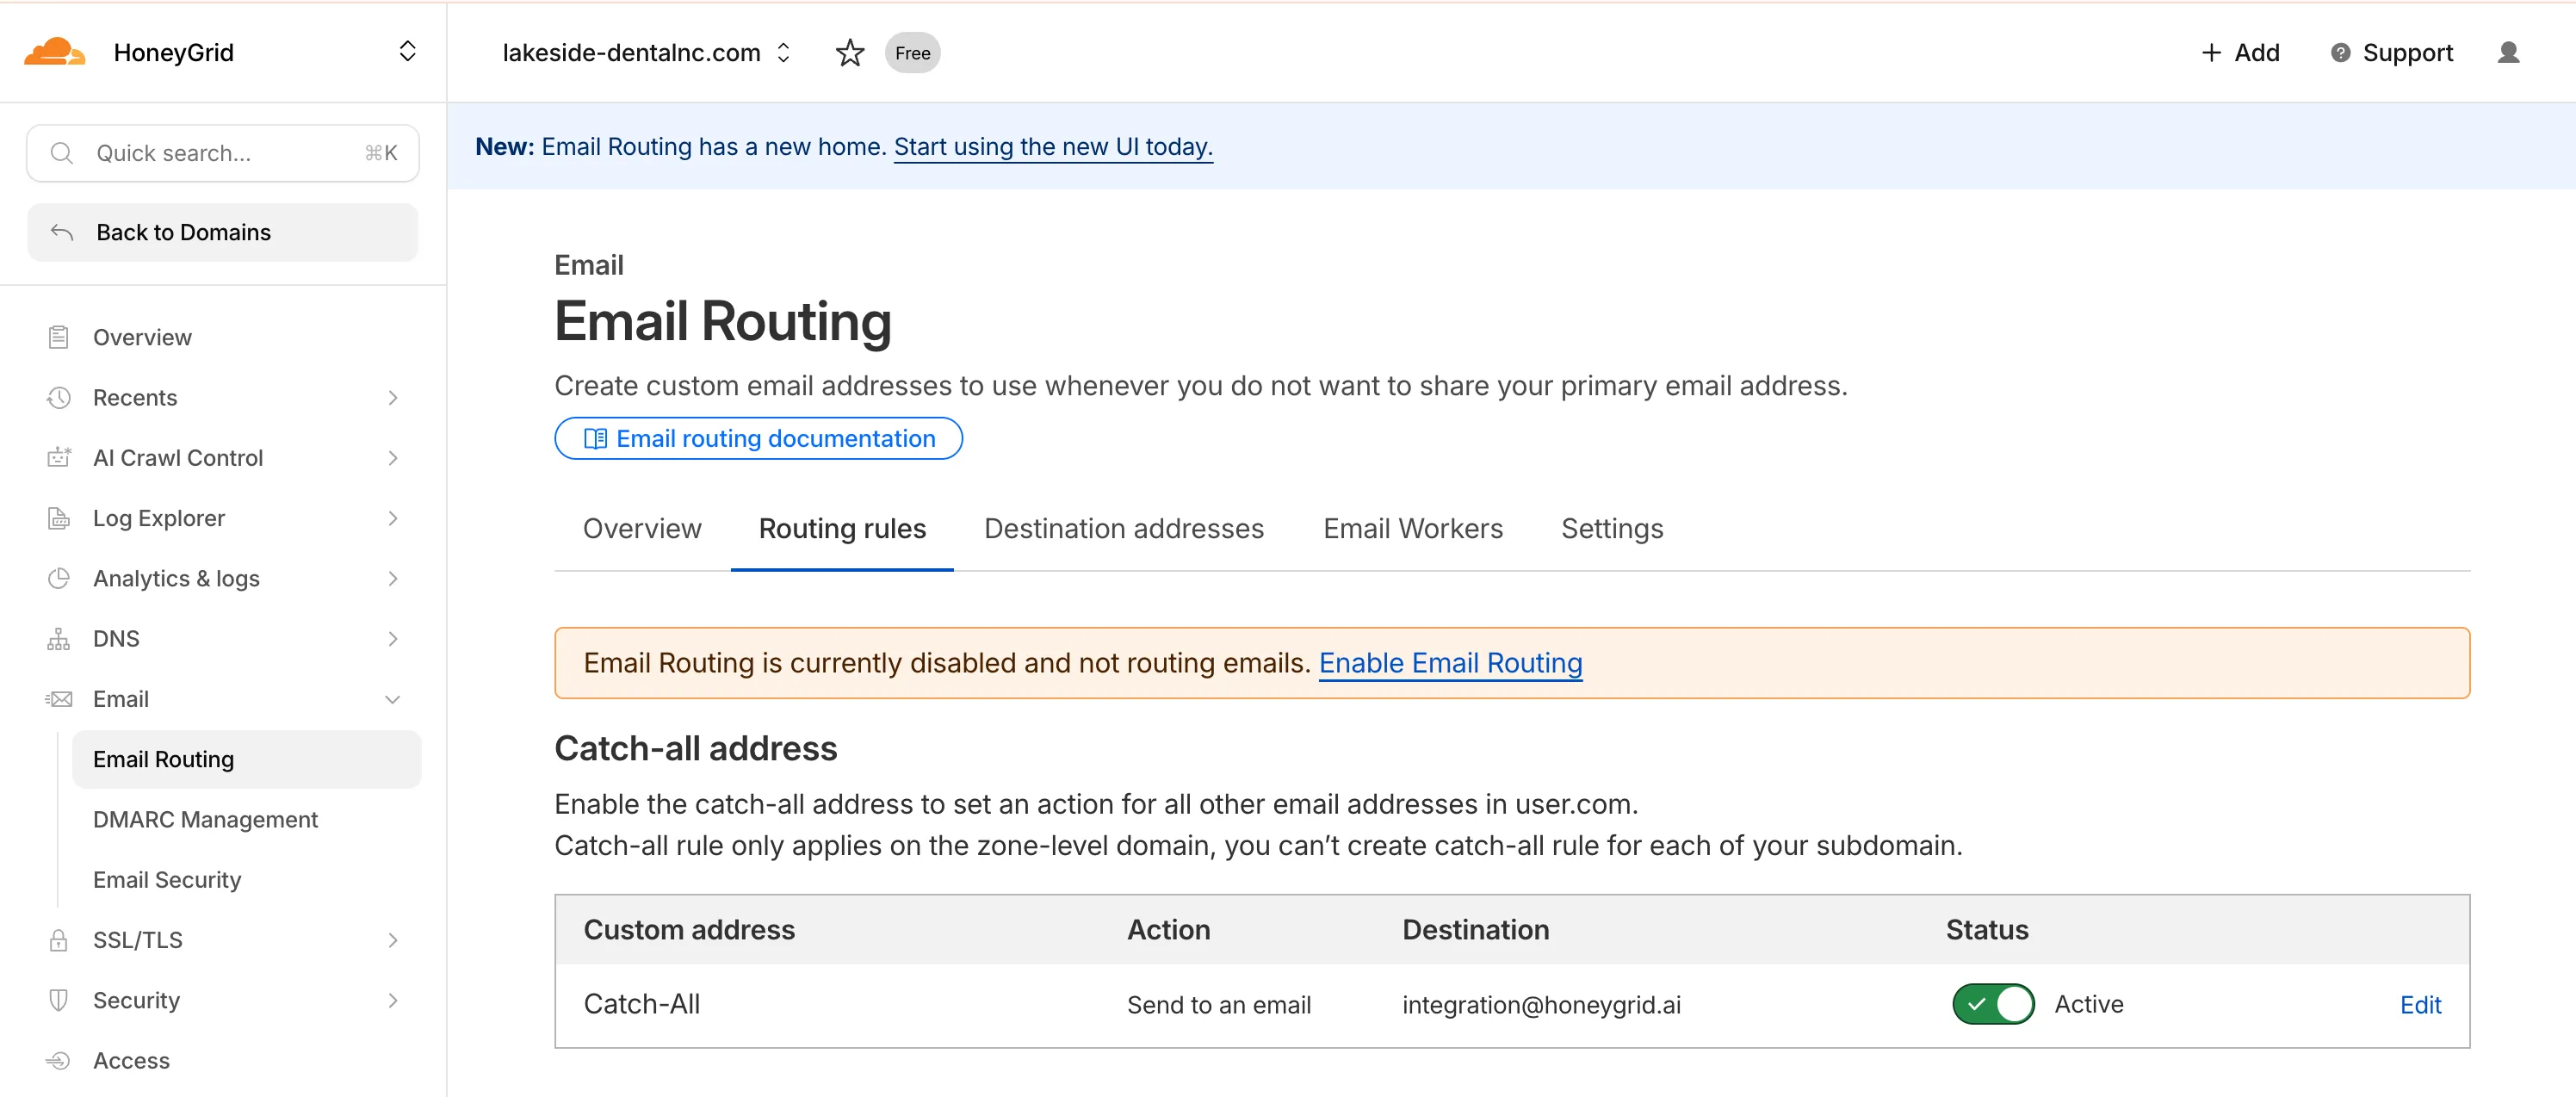
-
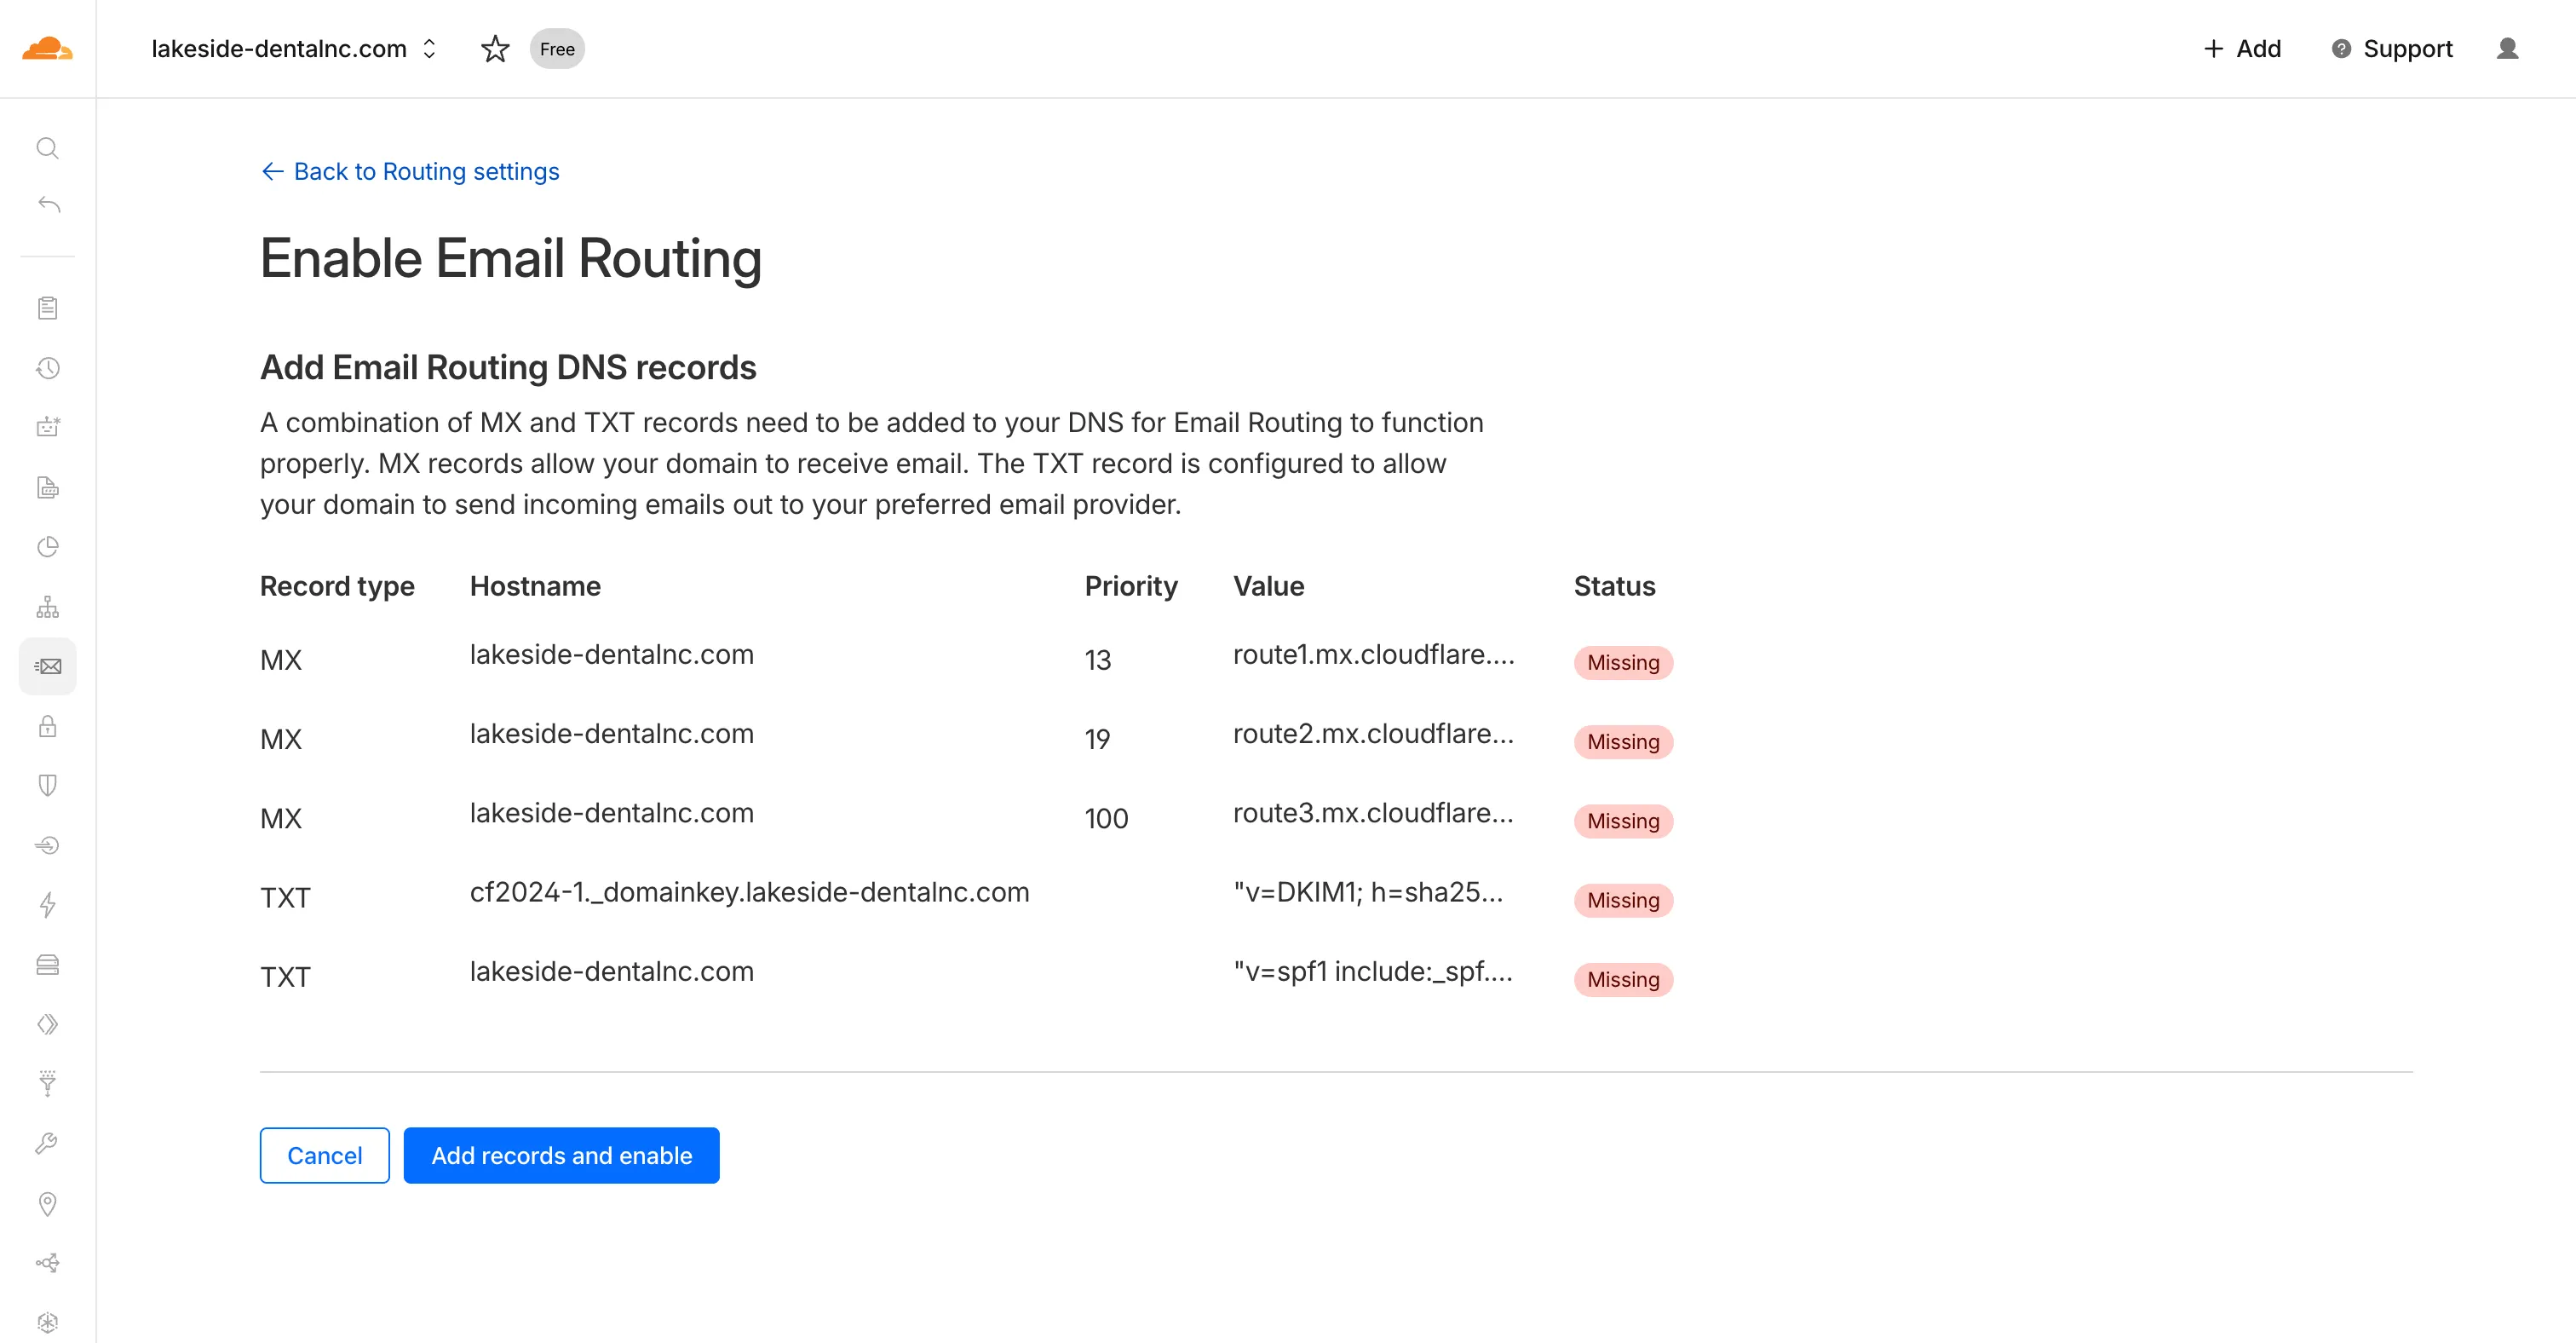
Click Enable Email Routing
-
Click Add records and enable. Cloudflare will add required MX and TXT records automatically.
-
Verify email routing status shows as active
-
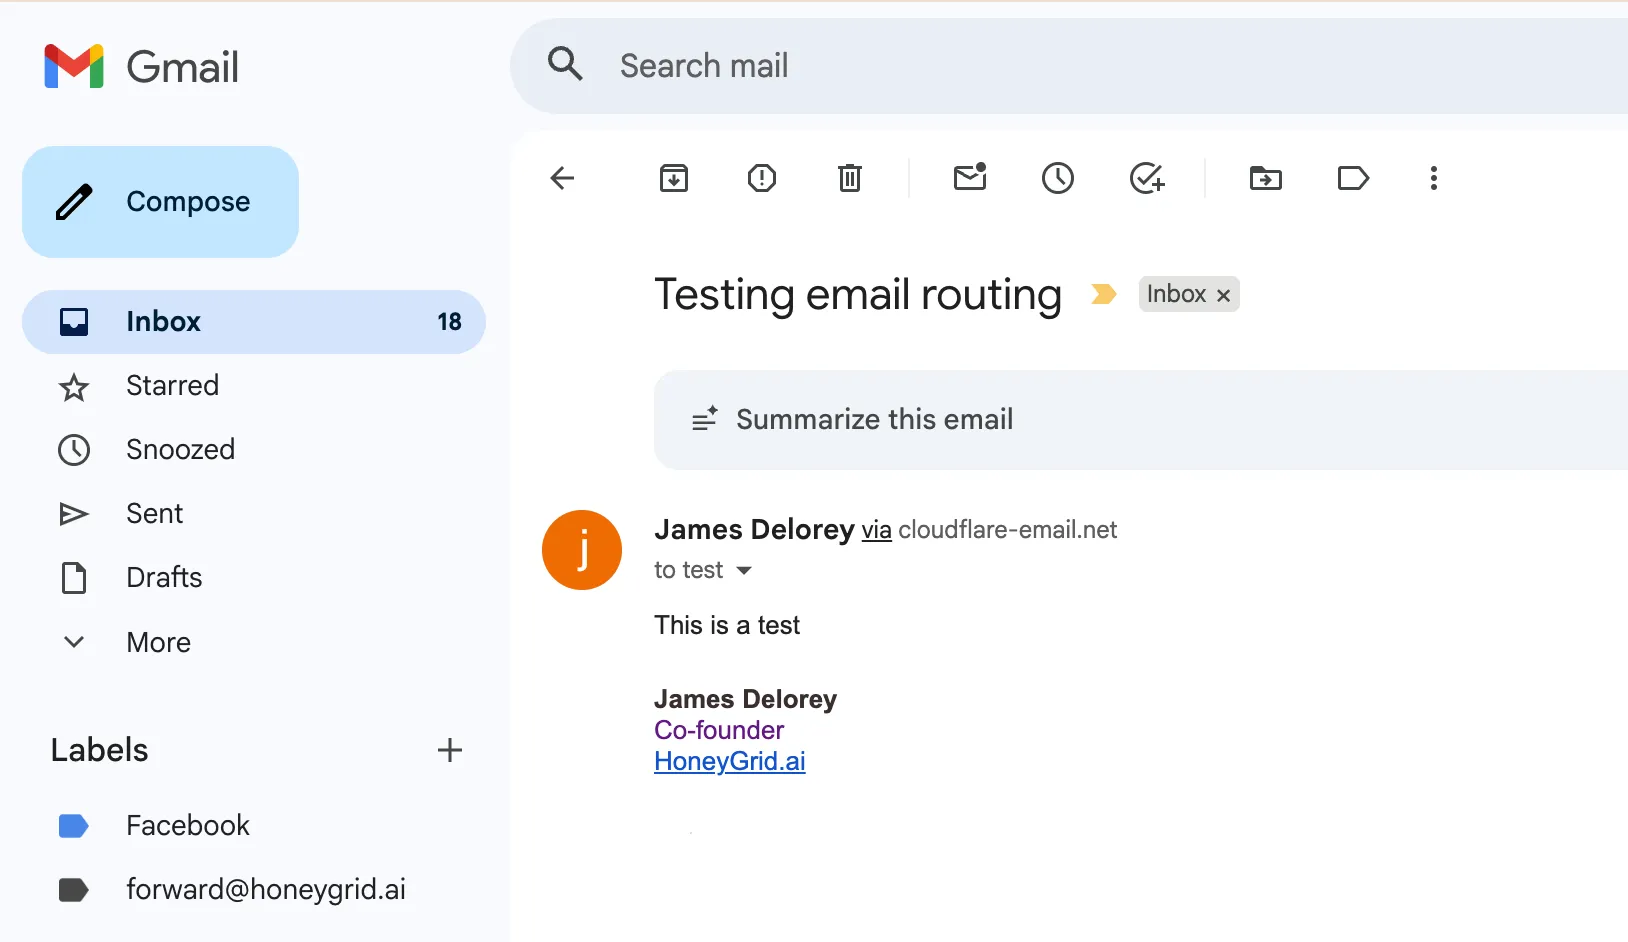
Send a test email. The first email may take a few minutes to arrive.

Troubleshooting
Section titled “Troubleshooting”Email not arriving
Section titled “Email not arriving”- Check MX records are correctly configured
- Verify email routing is enabled and active
- Check spam/junk folders
DNS propagation delays
Section titled “DNS propagation delays”- Use
digor online DNS checkers to verify nameserver changes - Wait up to 48 hours for full propagation
SSL certificate issues
Section titled “SSL certificate issues”- Cloudflare should auto-provision; check SSL/TLS settings
- Ensure SSL mode is set to “Full” or “Full (strict)”